
What this guide will help you do
Follow the steps below to prepare your design and complete the Marketplace setup.
Upload the full card design as JPG or PNG.
Use a small square image to show which face will be swapped.
Keep important artwork outside the red trim area.
Before you start
Use JPG or PNG artwork at 300 DPI.
Prepare a small square image of the face used for the swap.
Keep important content away from the red bleed area.
How to Upload a Face Swap Card
Prepare the main artwork
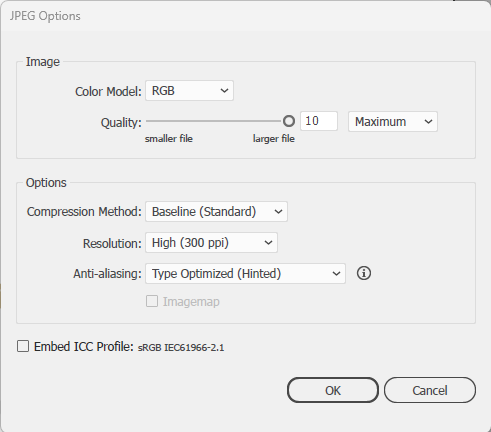
To start we would need two sets of artwork ready to upload, the first being the main artwork. Just like our standard cards you will need to upload a jpg or PNG. If you export using jpg please design in CMYK then export in RGB, 300 DPI. If you’re exporting in PNG, please make sure it’s exported in 300DPI.
Prepare the face image
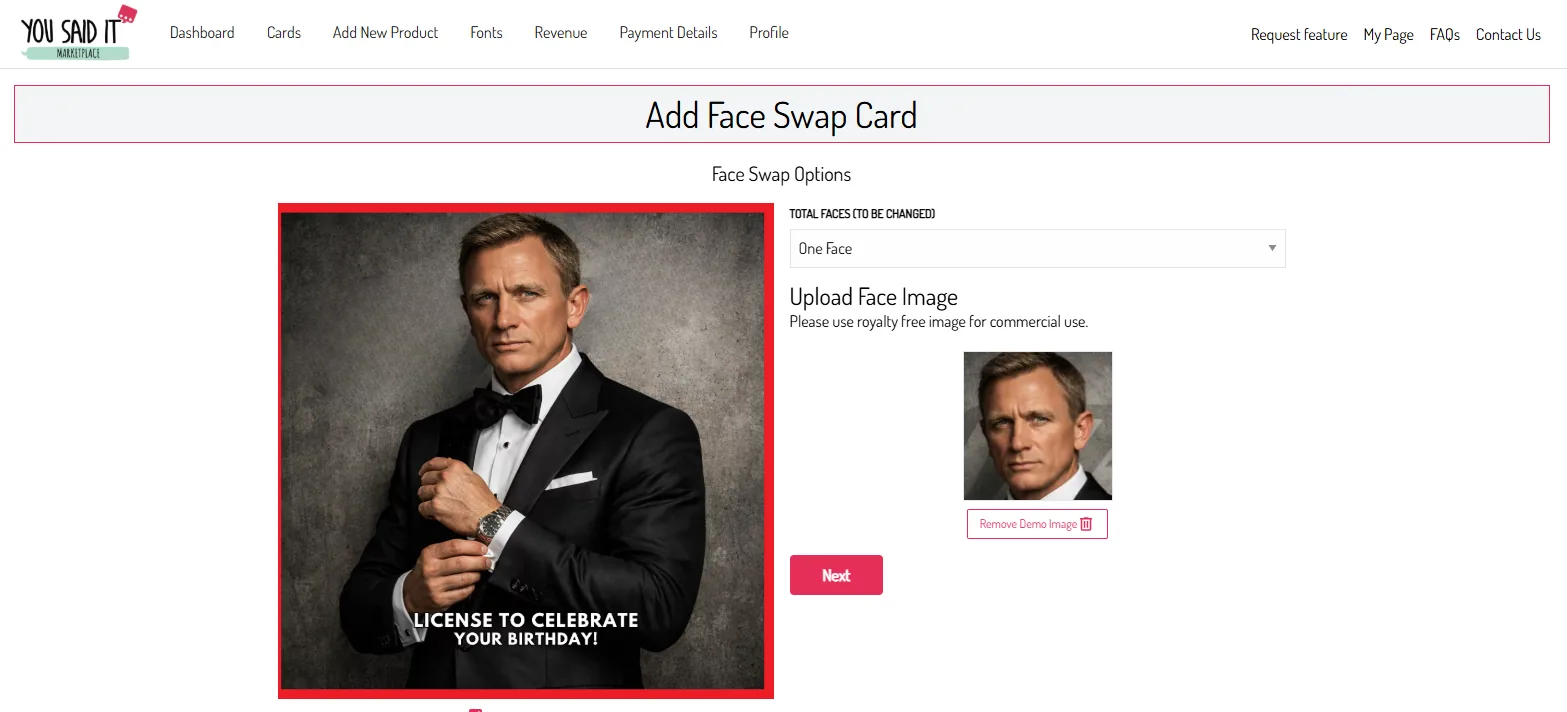
The second part is a small square image of the face you would like to be used to face swap. This is to demonstrate to the customer which face it will swap with. This doesn’t need to be very high resolution.

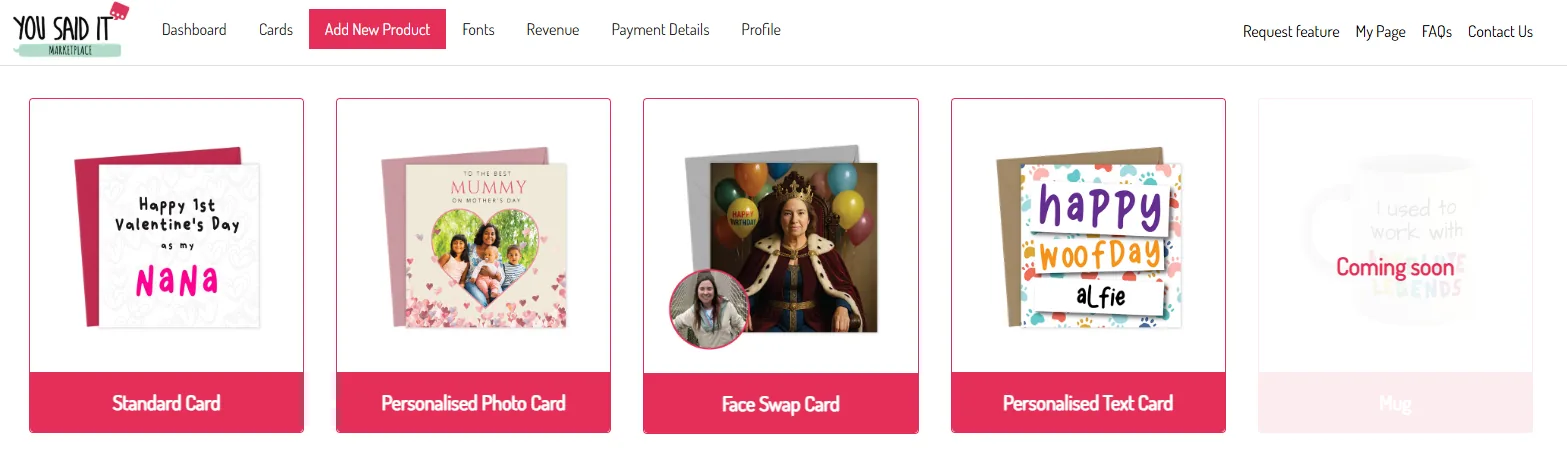
Choose Face Swap Card
When you have your artwork all ready to upload, you’ll need to click face swap card option on the dashboard.
Check the bleed area
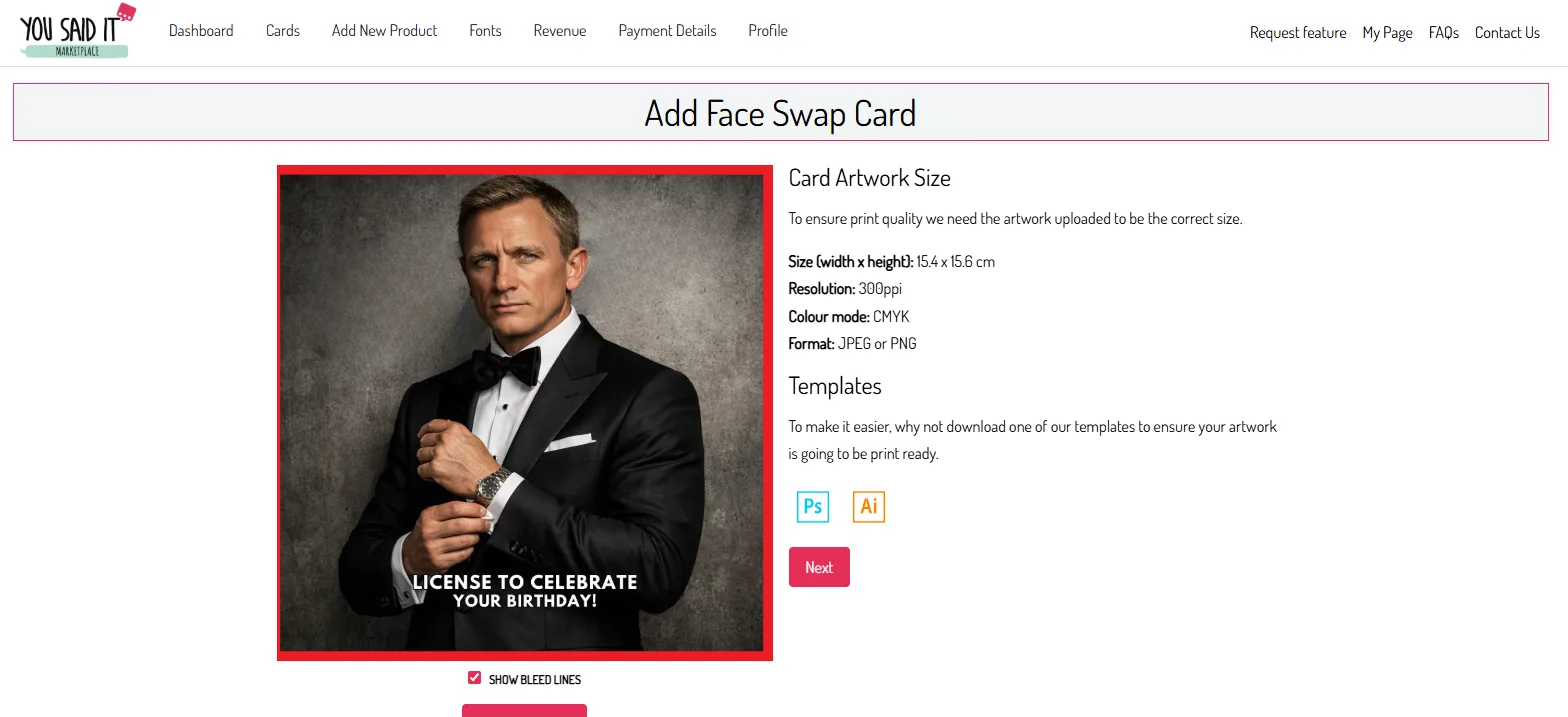
Once you’ve uploaded the main artwork on this page, please make sure no important details are in or close to the red area. This is the bleed area and will be cut off in production. The only parts which should show in the red areas will be any background colours/images used.
Upload the face photo
Once you’re happy how the main artwork looks just click next and another page will load, this is where you upload the face photo. You will be given the option to upload one or two faces.
Complete the card details
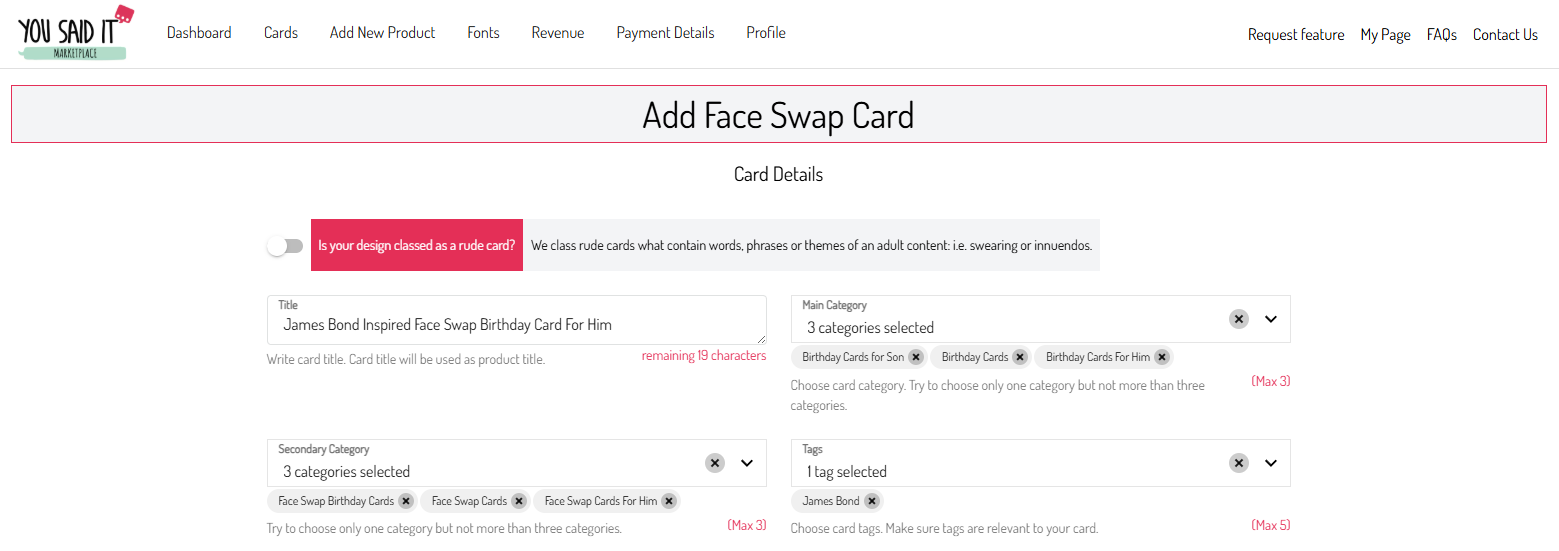
Once you’re happy how the artwork looks just click next. You can now fill out the card details like you do with our standard cards.
Once you’ve finished
Once submitted our team will then check it over. You will also be able to see your design on your profile page where you can test.