
What this guide will help you do
Follow the steps below to prepare your design and complete the Marketplace setup.
Leave blank the areas customers will personalise.
Use Add text to define editable areas.
Control position, size, character length and typography.
Before you start
Remove the text customers should be able to edit.
Export the main artwork at 300 DPI.
Know which text is editable and which text stays fixed.
How to Upload a Personalised Text Card
Prepare the artwork
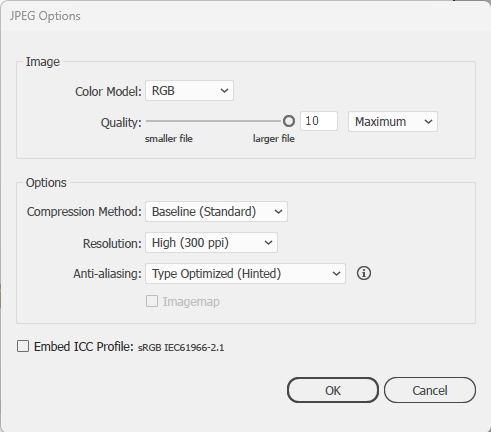
Just like our standard cards you will need to upload a jpg or PNG. You will need to remove the text where you would like the customer to personalise. If you export using jpg please design in CMYK then export in RGB, 300 DPI. If you’re exporting in PNG, please make sure it’s exported in 300DPI.
Check the editable areas
You should now have one file ready to upload with the areas you would like the customer to edit.

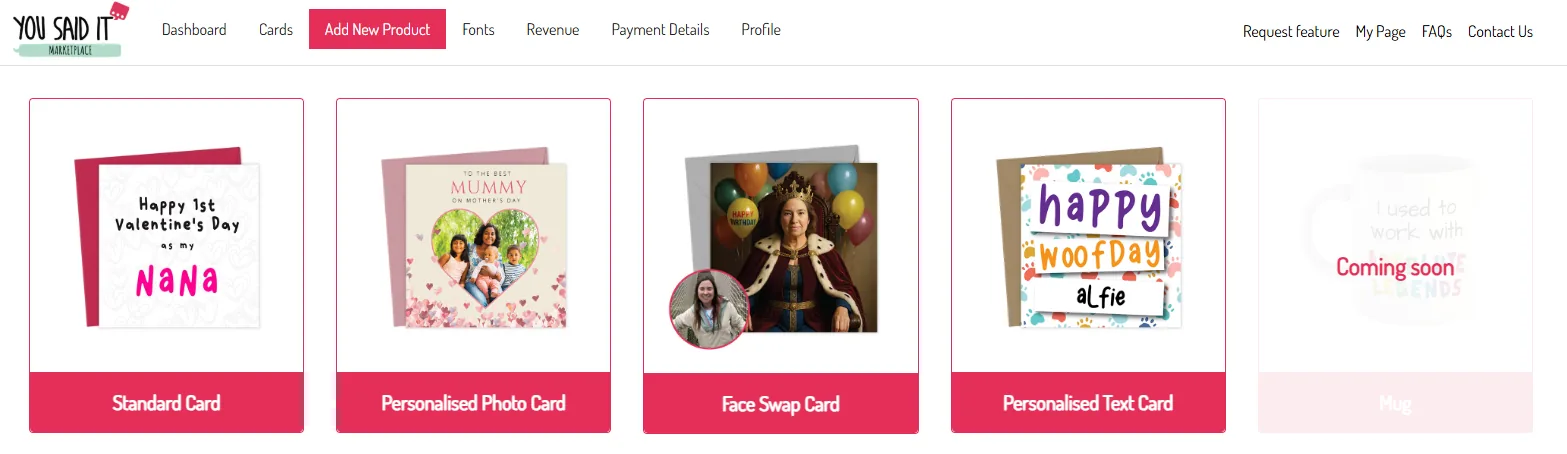
Choose Personalised Text Card
When you have your artwork all ready to upload, you’ll need to click the personalised text card option on the dashboard.
Check the bleed area
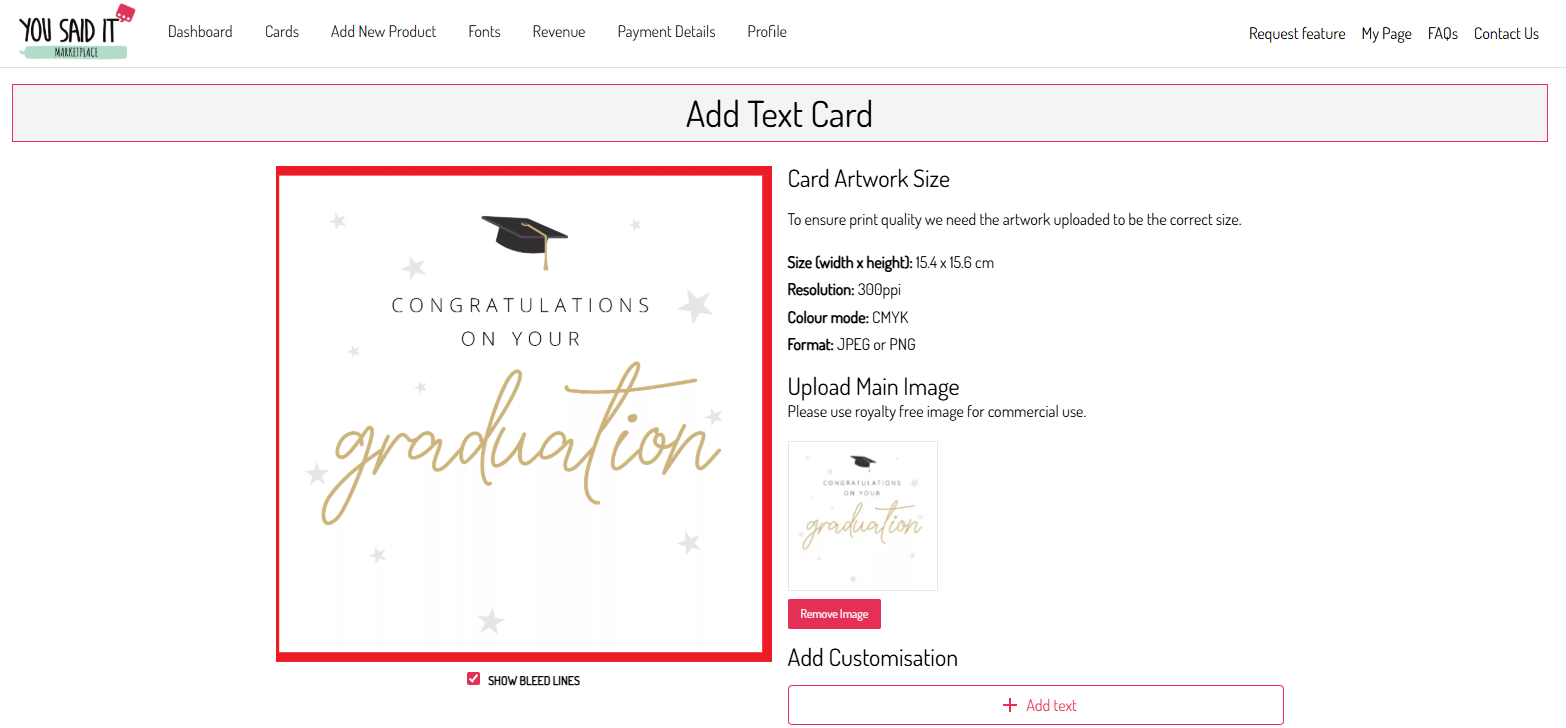
Once you’ve uploaded the artwork on this page please make sure no important details are in or close to the red area. This is the bleed area and will be cut off in production. The only parts which should show in the red areas will be any background colours/images used.
Add the editable text
Once you’re happy how the artwork looks we now need to add the editable text. Do add this please click the Add text button

Open the text editor
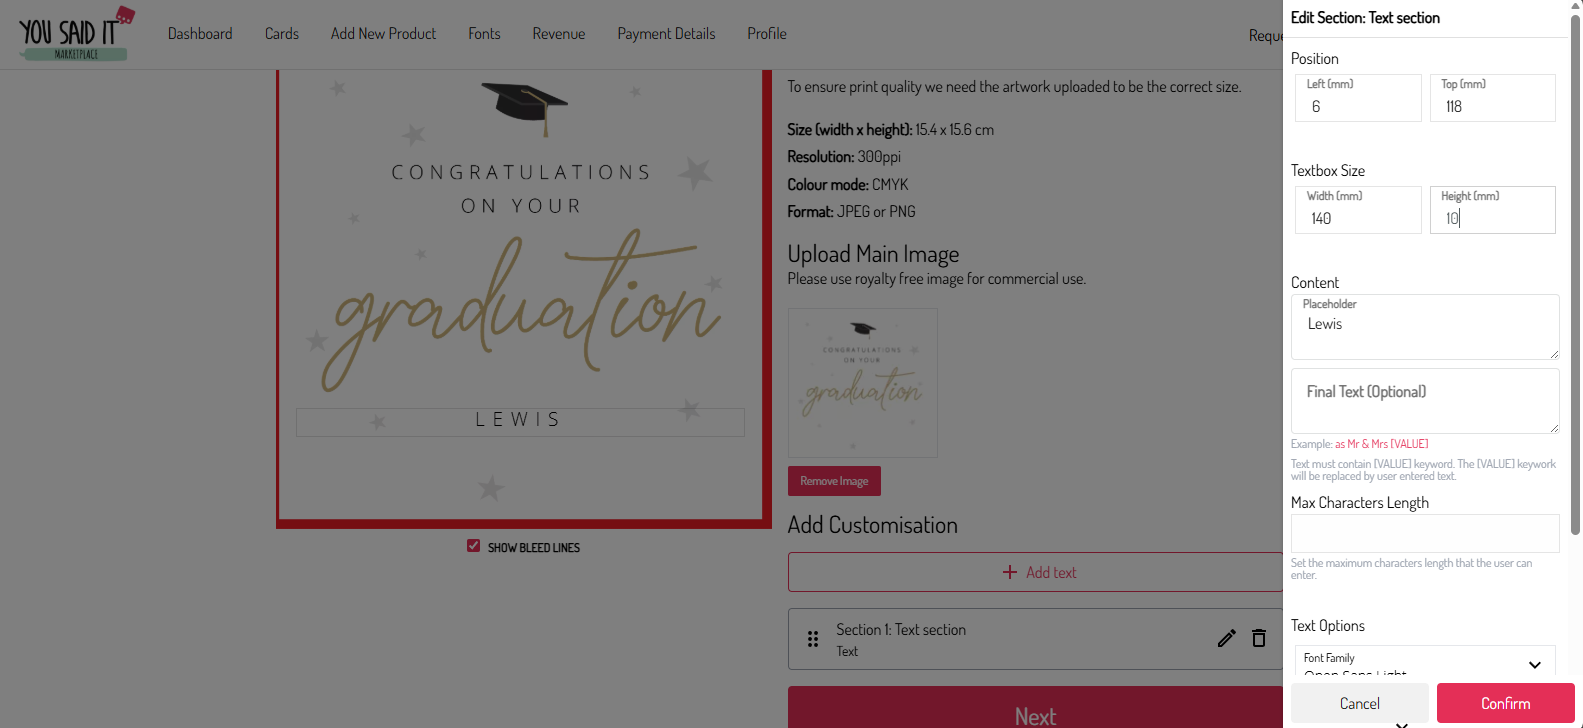
Next, a new box will show saying Selection 1: Text section. Click the pencil icon on the right of the box, this will display the editor.

Set position and textbox size
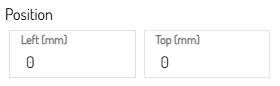
Position: These settings are used to let the system know how much space the text box needs to be from the top or left of the design. Textbox size: This is used to set the size of the text box hight and width.
Configure content
Content: We have two boxes here, if you wish to only have editable text just place the demo text in the placeholder box. E.g Name / Date. If you wish to have fixed and editable text, you will need to use both boxes. For example, if you want to have Mr & Mrs Smith and only allow the customer to edit the name Smith, you will need to input Mr & Mrs [VALUE] in the final text box. This will only allow the customer to edit the name.
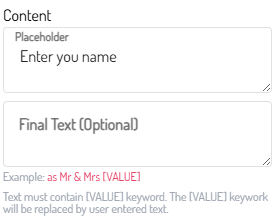
Set character limits and text options
Max Character Length: This boxed is used to set a maximum number of characters the designer can use, this is helpful to ensure any text doesn’t go over the cut line. Text Options: This part is used to setup the font, font size, letter spacing, text colour, alignment, rotation and text transform.
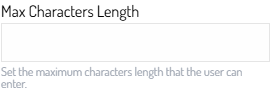
Review and confirm
Your setting should look something like this, if you change any settings you will see in real time the changes. Once you’re happy just click confirm. If you wish to add more text options just repeat this the add text process again.
Complete the card details
Once you’re happy how the artwork looks just click next. You can now fill out the card details like you do with our standard cards.
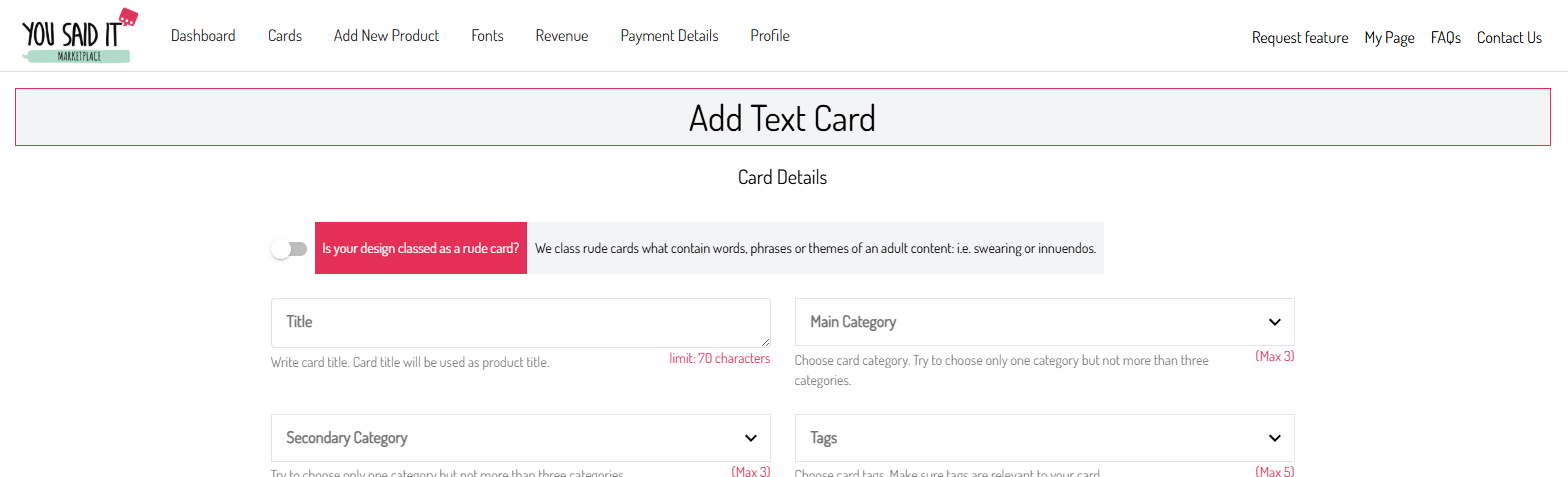
Once you’ve finished
Once submitted our team will then check it over. You will also be able to see your design on your profile page where you can test.