
What this guide will help you do
Follow the steps below to prepare your design and complete the Marketplace setup.
The customer photo area must be transparent.
Add a royalty-free photo to show how the design will look.
Marketplace uses the transparent artwork and demo image together.
Before you start
Export the front artwork as a PNG with the photo area transparent.
Use a royalty-free image that fits the customer-photo area.
The main artwork should be 300 DPI.
How to Upload a Photo Card
Export the transparent artwork
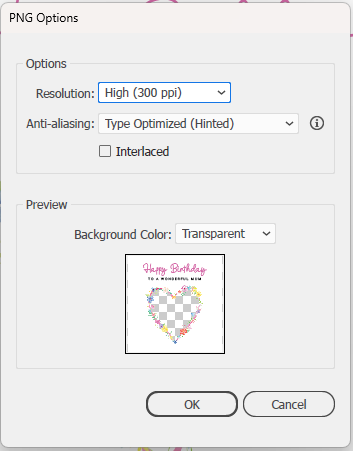
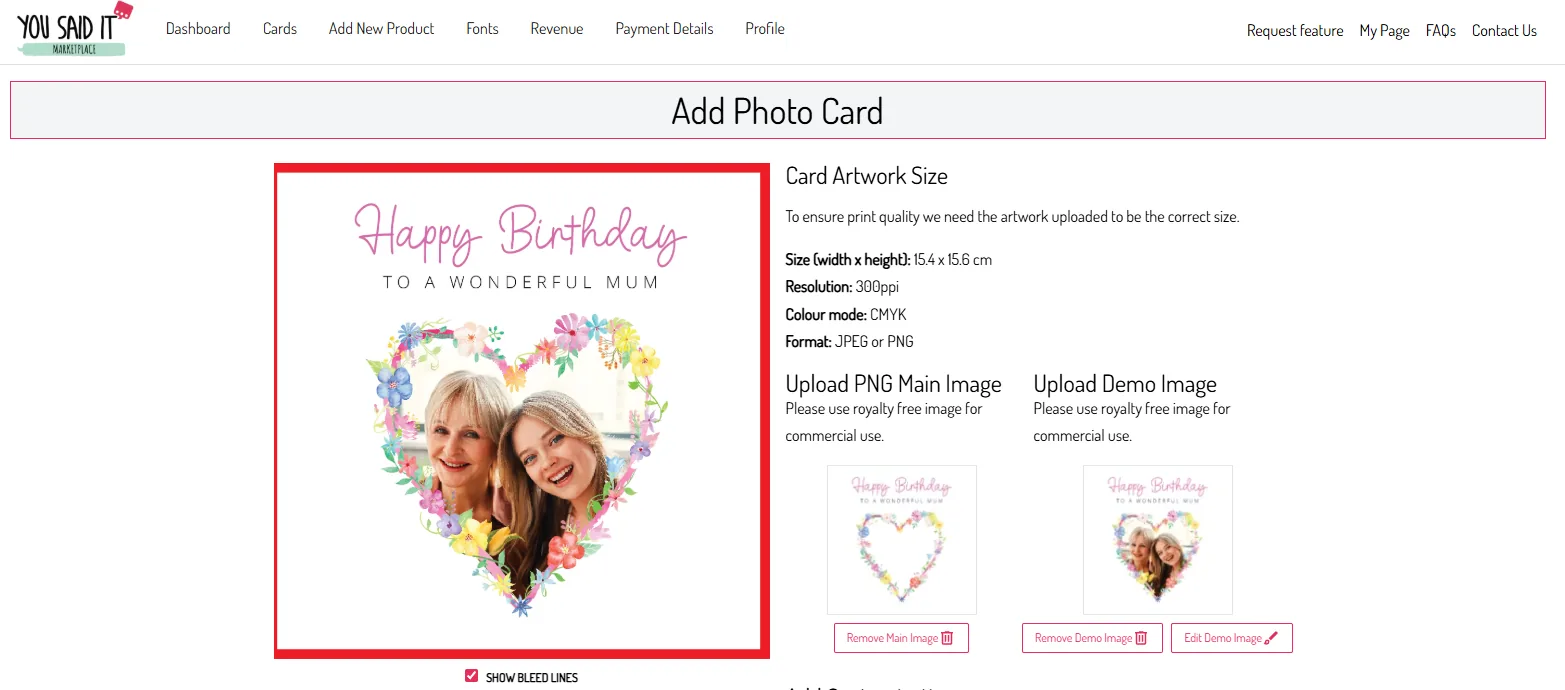
You’ll need to export the front artwork with the area you want the customers photo to display transparent. The file should be PNG and 300dpi.
Prepare the demo photo
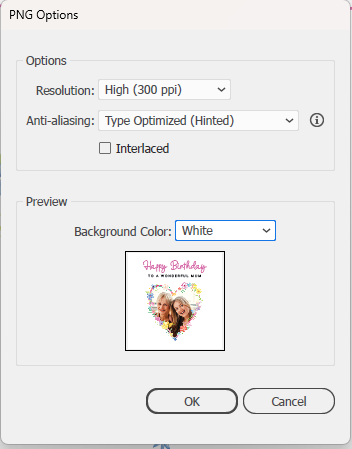
Next you’ll need to add a royalty free image to fit the space where the customers photo will show, this will be the demo photo. This image will sit behind the first image.
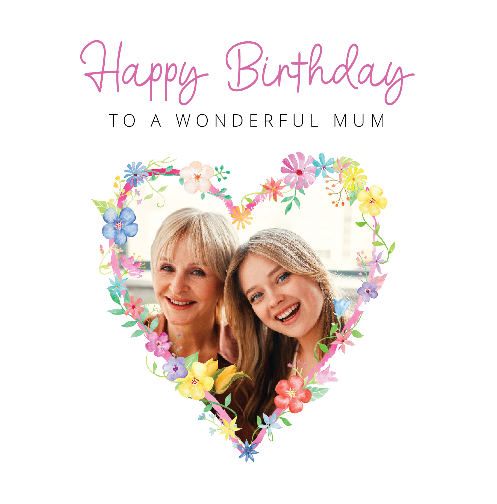
Check your two files
You should now have two files to upload, the first one with the cutout transparent area where the customers photo will show and another image which is the demo image of how it should look with a photo.

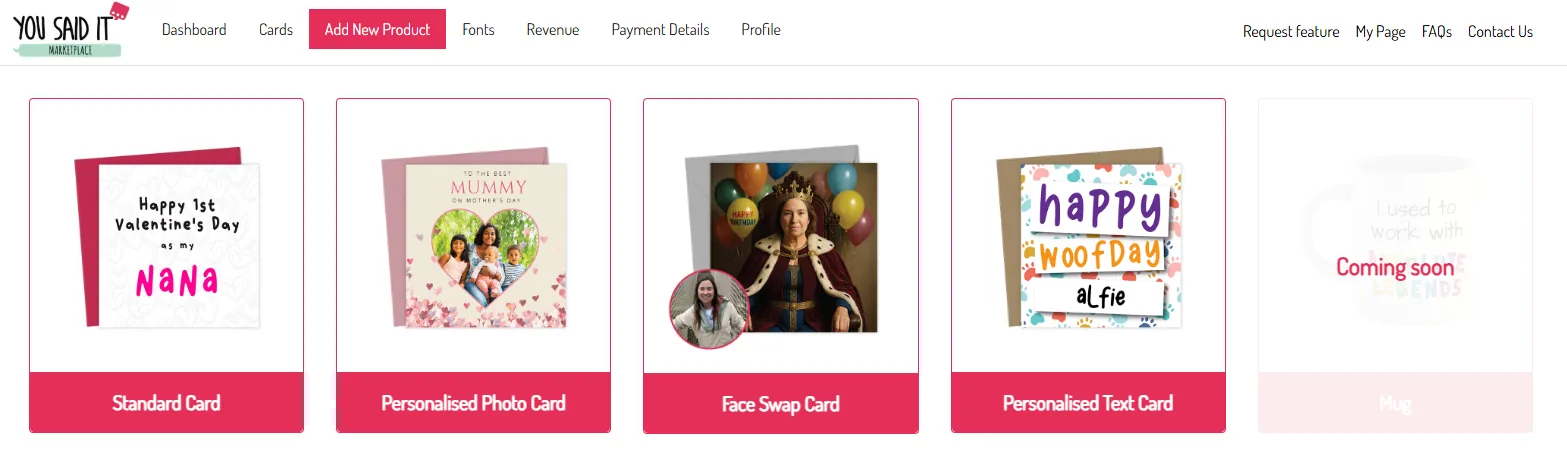
Choose Personalised Photo Card
When you have your artwork all ready to upload, you’ll need to click the personalised photo card option on the dashboard.
Upload both images
You will need to upload the artwork with the transparent area on the left upload option and the demo image using the right upload option, under the title Upload demo image
Complete the card details
Once you’re happy how the artwork looks just click next. You can now fill out the card details like you do with our standard cards.
Once you’ve finished
Once submitted our team will then check it over. You will also be able to see your design on your profile page where you can test.